Good day stampers! Well I really didn't mean to fib to you about the picture tutorial that I was supposed to do yesterday but with all my appointments and what not I forgot I had a scrapbook class yesterday afternoon. (fortunately I remembered in time and I was already prepared or it could have been nasty :O) So that's the reason I didn't get my post in yesterday. But today I am back on track for about 5 min and here is your promised card with photo tutorial.
I finally got out of the Pink, Orange, whatever combo that I was stuck in but now I find I am trying to find uses for all those scrap bits of Basic Black and Real Red that are left over from DD's wedding projects. Ah ha - pair them up with Daffodile Delight and poof a new combo and I like it!
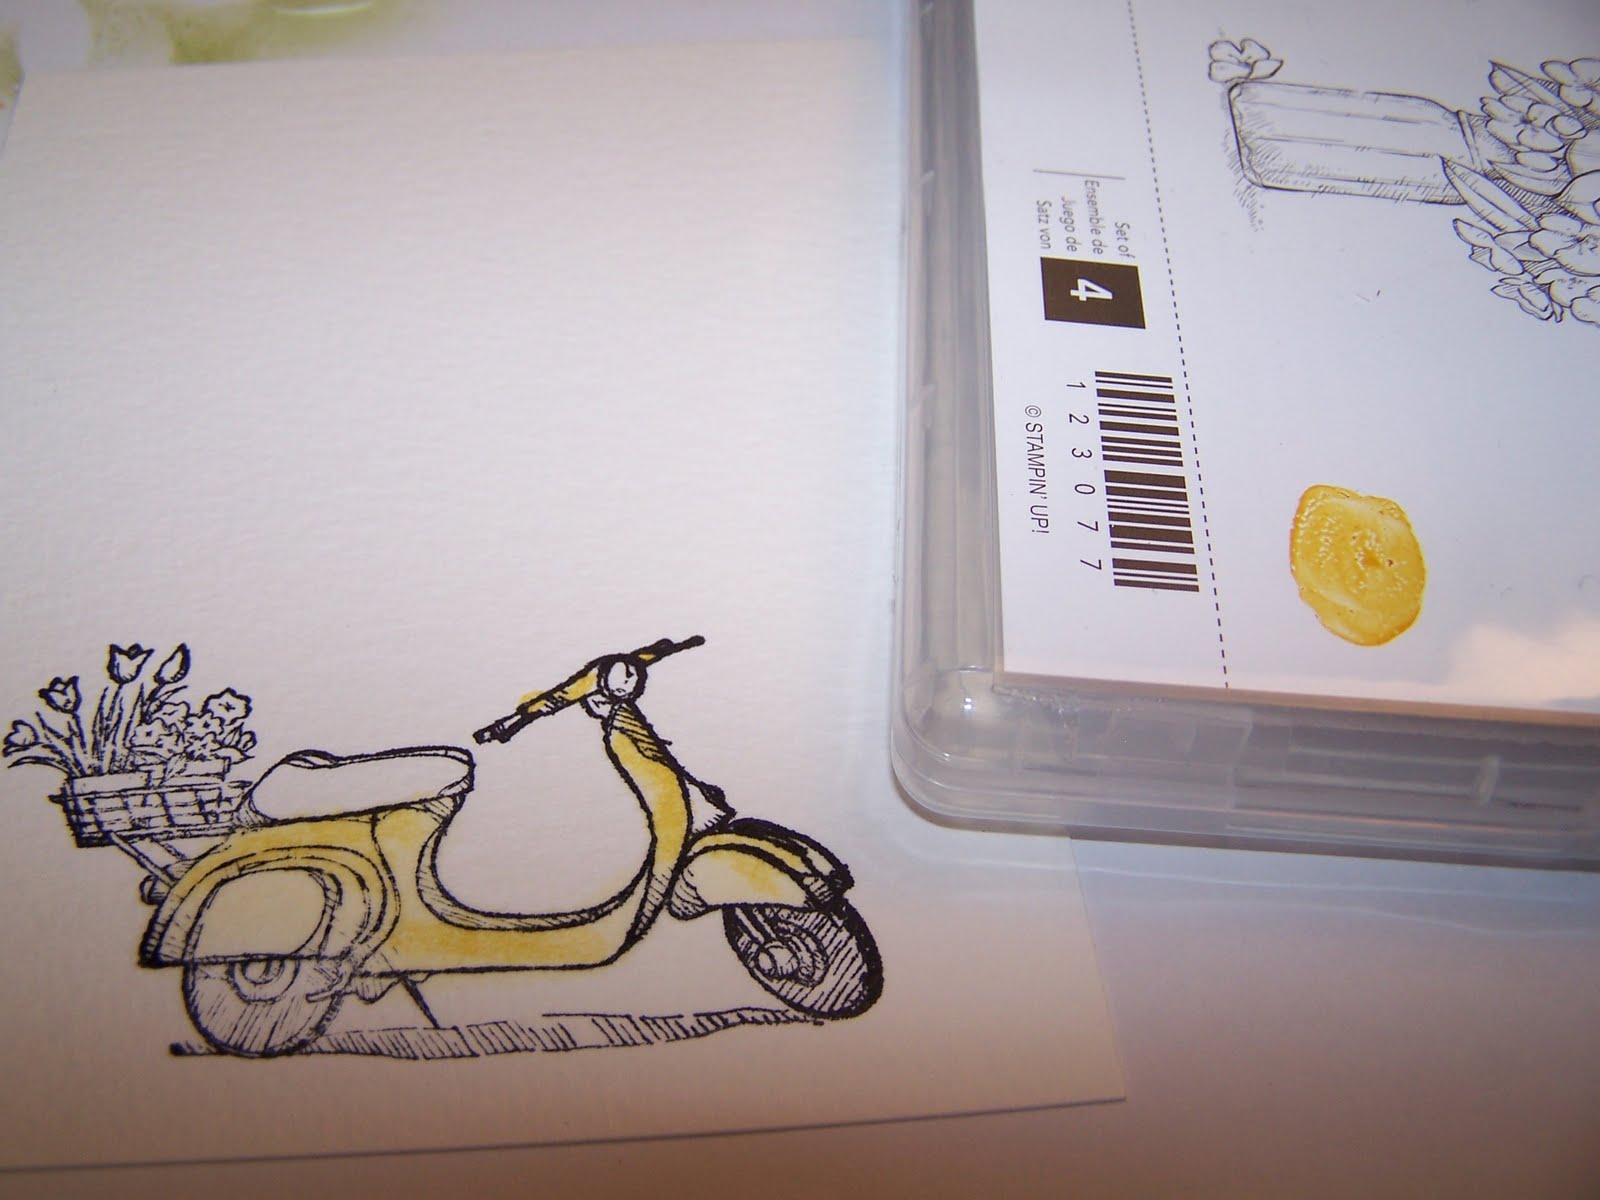
Stamp set used "On the Grow" a set that is perfect for the watercolor technique!
Supplies used - Daffodile Delight card stock, Real Red card stock, Basic Black Card stock, watercolor paper, Stazon ink, various markers, Aqua Painter, Basic Black Satin Ribbon, Eyelet border punch, Sticky strip, button, dimensionals, tombow glue, Ms. Big Shot and the Vintage Wallpaper embossing folder. I don't think I forgot anything!
I stamped my image with Stazon Ink on Water Color paper and then using the marker colored in several spots and used the Aqua Painter to move the color around to fill in the image.
You can put the marker directly on the water color paper or you can use a smooth surface to put some ink on and pick it up from there. You can also use the ink pads to pick up color with the Aqua Painter. I use what ever is washable for my ink. Hence the yellow spot on the cover of the stamp set. (wink wink)
After the lighter color - Daffodile Delight is painted on then I used a More Mustard marker to add some deeper color. I then used a Basic Grey marker (see the spot of color?) to do the tires and seat of the mo-ped.
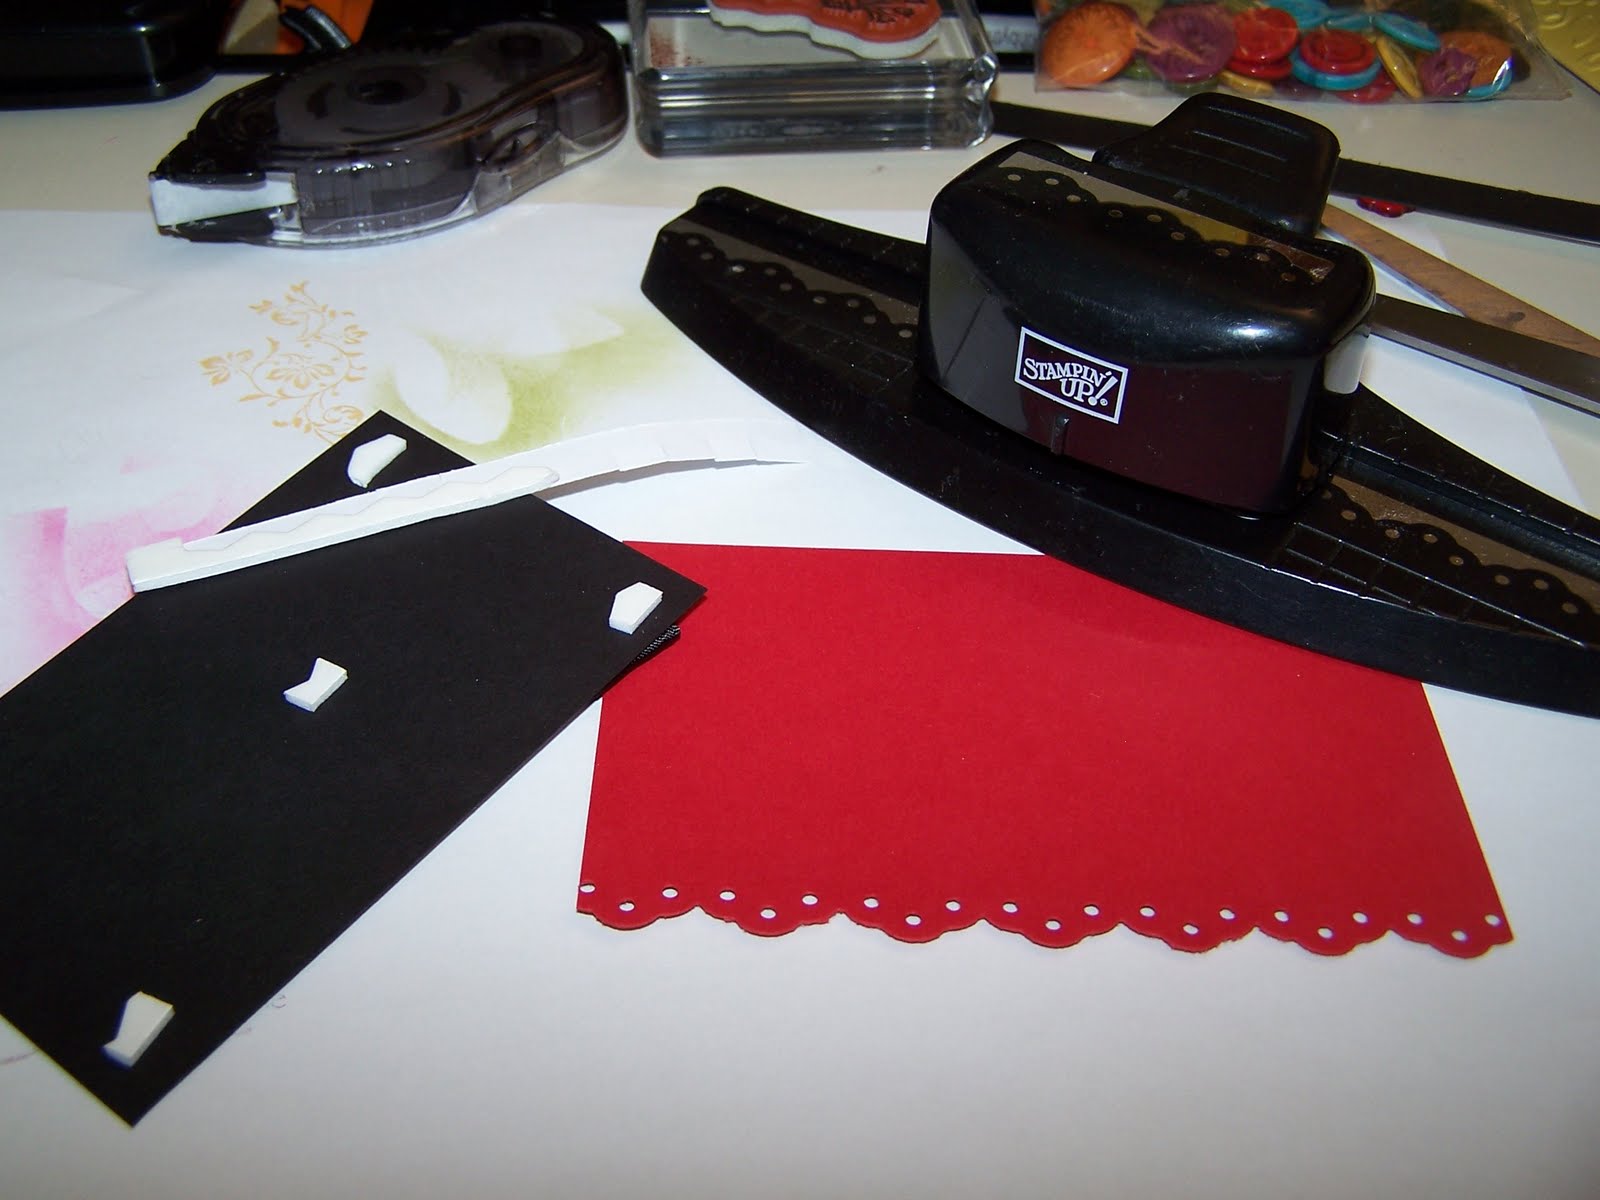
I finished coloring in the image with the various markers using the Aqua Painter and then added some sticky strip down the right side of the image after I matted it on Basic Black c/s. I used the Basic Black Satin Ribbon and ruffled it down the side. The sticky strip is great for putting ribbon on this way.
I used a scrap of Real Red c/s and punched out a border with the eyelet border punch and added some dimensionals to the back of the image. I then mounted the image on the Real Red c/s
Attached the focal image to the card (Daffodile Delight) after I had run it through the Big Shot with the embossing folder.
I used a couple of scrap pieces of c/s to stamp out the greeting and cut a V in each end.
As I was attaching the greeting to the card it fell out of my hand kinda crooked and off center and because I like it I kept it that way. I attached a button and threaded a little embroidery cotton through the holes and tied a small bow. It's finished! Yay another one for your viewing pleasure. Now since I have a marker class tonight I have to clean up my house and get ready. Supper for once is already done cause I got smart and cooked enough for tonight, last night.
Growing to hug you! All right I can hear you out there groaning about that pun! Stop it I was struggling here have some sympathy, it's not easy coming up with a smart ending to this post. Stop laughing I say! Ah darn ok go ahead have fun. :O) I know I do.


No comments:
Post a Comment