Showing posts with label Christmas Cuties. Show all posts

Saturday, October 31, 2015

Christmas Card Class!

Hey All!

Quick post today as it is Halloween and I am waiting for my favorite little witch to get dressed and head out the door in Ottawa.

Halloween is a holiday that made a lot of impact on her last year and we have been waiting for this day for a year lol.

So here are the cards for tomorrow's class and there will also be a class on Monday evening using the same cards.

Have a look-


Finding a use for all the little deer I cut out lol!


Got a new set had to try it out!  Peaceful Pines!


New embossing folder and the wonderful window framelit.  Creates a lovely Christmas scene.


Favorite Set ever!  Christmas Cuties!  

So that's my post for today!  

Happy Halloween and stay safe all you little Trick or Treaters!

Hugs!

Saturday, October 24, 2015

Wrappin' it Up!

Hello there Stampers!

I hope you  have been enjoying the posts!  Thanks Colleen for the Wine Necktie post!  From here on in I will call it a Wine Necktie!

One of my demonstrators and myself will be participating in a Craft Sale at the Pepsi Center on December 5th.  I have been busy creating stocking stuffers and gift card holders and wrapping up candy etc.  Having so much fun doing this.  I have been using some of my retired craft supplies and some of my retired stamps.

I have found that I am enjoying the older sets.  And over the next couple of weeks I will be showing you a few of the projects I have worked on.  But today I have a super cute post using almost all current product.  It didn't start that way, it just evolved.  Love it!  Have a look -


I know you are all familiar with our new Christmas Designer Series Paper called Home For Christmas!  So this is what I started with!


Yes, I did, I cut out all the deer on one sheet!  I know, I've lost it right?  It was not too bad and now that they are all cut I can use them as I want.  So really pleased to have done all of them instead of one at a time lol.


Recently I ordered these bags with an idea to use them for Christmas goodies!  They are on Page 151 of the new catalog and are called Sketched Dots Tag a Bag gift bags.  I really like them and wish I had purchased more.  They are a little translucent and I love the way they fold !  I broke out the Christmas Cuties stamp set and went to work.  


I did use a retired medallion die for the top.  I added Mint Patties to the bag, folded the top and stapled it shut.  Then I folded the Medallion over the top.  I used the new Cotton Paper on Page 148 because it is so flexible.  It is a step up from Tissue Paper.  

I added  Tip Top Taupe Lace Ribbon and tied it on the top.  I then used Linen thread to tie the tag on the top of the bag.  I used the Silver Glimmer Paper for the tag and coloured the the Angel in Pool Party, Tempting Turquoise, Soft Suede and Blushing Bride.  Popped her up on Dimensionals.  Love this look.  Now you know why I wish I had more lol.


Here I used a paper doily to over lap the top and I used candy bars that I wrapped in Christmas Paper.  Added a Watermelon Wonder Tag and Ribbon.  Added a retired snowflake in Silver Glimmer Paper and one of the cute Deer.  Bamm!  Done!


Same thing just a different Deer!


Going through my UFO box I came across these skates already cut and coloured.  Yay for me...  So I added Cucumber Crush Lace ribbon and a circle in the same colour and popped up the skates.  The flip side on all of these says - To:  From:


Well that's my share for today!  Hope you enjoyed it!

Crushing on this project hugs!


Friday, October 2, 2015

Christmas Cuties!

Hello Stampers,

You ever have one of those days when everything falls into place?  You know the ones, productive and you feel great!

Well yesterday was one of those days.  I got dinner ready in the morning, (cabbage rolls) got the house cleaned up (before Lunch) and then hit the craft room.  Cleaned up there too,  ate supper and after supper I went back with my IPad to listen to some music and see what I could create.

Music usually sets my mood, and last night it all just seemed to gel.  Myself and another Demonstrator are booked for a Craft Fair on December and I wanted to make some items for this sale.

I took one of my fav sets called Christmas Cuties and went to work.  Found a video on the web with instructions for a gift card/money holder.  So I took some retired Designer Series Paper and some current and cut out 5 1/2" squares.  Then I used the Envelope Punch Board to make the holders.  So simple and totally cute.

Have a look at what I made -

 
Here they are!  So Cute!

 
There are three large image stamps in this set and I love them all.  I used Home For Christmas DSP for the envelope and the new silver and gold foil Doilies (found in the new Mini catalog).  Stamped the angel image in Stazon Black and colored in with Pool Party and Marina Mist, Daffodil Delight, and Hello Honey markers.  I used Blushing Bride for the face and hands.  I had some retired ribbon for the bow.


I first punched the angel out using the 2" circle die but I quickly decided I didn't like the way it was on the gift card holder.  So I just fussy cut around the top and left the bottom rounded.  That worked well thank goodness or I would have had to start over.  I did use a retired snowflake framelit for the background of Green.  But I really love how it turned out.


Next image is of a little snowsuit clad cutie.  I colored the snowsuit with Pool party and paper pieced the scarf and top of  his hat using the retired DSP that I used for the gift card holder.  I added a retired greeting and a large Foil Doily.  Ta Da!  Love it!

 
Here is a close up of the image so you can see the DSP I used to paper piece the scarf and pompom.  Can't tell you how much fun I had with this one.

 
Do you see a theme developing?  Found a look and went with it. lol.  Once again Retired DSP and Greeting.  (As I look at it now I may have to move the elf a little cause it looks like Heck the Halls haha)  I colored him in Real Red and Garden Green with Soft Suede for the hair.

 
I added some Tombow glue and fine Gold Glitter to the Bells on his suit.  I also added another layer of Soft Suede to make some highlights in his hair. 
 
So last night was super fun, good music, singing at the top of my lungs, chatting with my friends on Hayday (yes I am addicted)  and creating these "Christmas Cuties"  A perfect way to end a wonderful day.
 
Let me know what you think of today's projects.  Love to hear from you.
 
Self satisfied hugs!

Monday, September 21, 2015

Cuties!

Hello to all my stamping Friends!

It's a beautiful day here in Newfoundland (finally).  And it's another Monday!  Yup I know you all dislike Mondays but hey they happen and then I blog - something to brighten up your day! 

Now if you don't want to see Christmas Cards yet, look away, cause that's where I am right now OK?  I have all this new product from the Mini Occasions catalog (on the right hand side of this post)  and I just had to play with it.

Of course since I have a little grand-daughter, I am drawn to the more whimsical stamps now.  Before she came into my life I was into flowers and elegant stamps, but I guess with all the cartoons I have been asked to watch (I mean forced to watch), well I guess it finally rubbed off.  I mean how many times can you watch Frozen, Shrek or Monsters Inc. before you go just a little crazy?  Well apparently it's a lot!  Oh and since I have always been a little crazy it's taking just that much longer.

Anyhoo on to my share for today.  I am working with Christmas Cuties.  I love this set it is exactly as promoted - cute. 

Have a lookie loo -


I mean seriously is this not cute?  I used Soft Suede for the card base, Real Red for the background color and a piece of the the new Christmas DSP called Home for Christmas.  You are going to be seeing more of this DSP soon.  It is so nice!
 
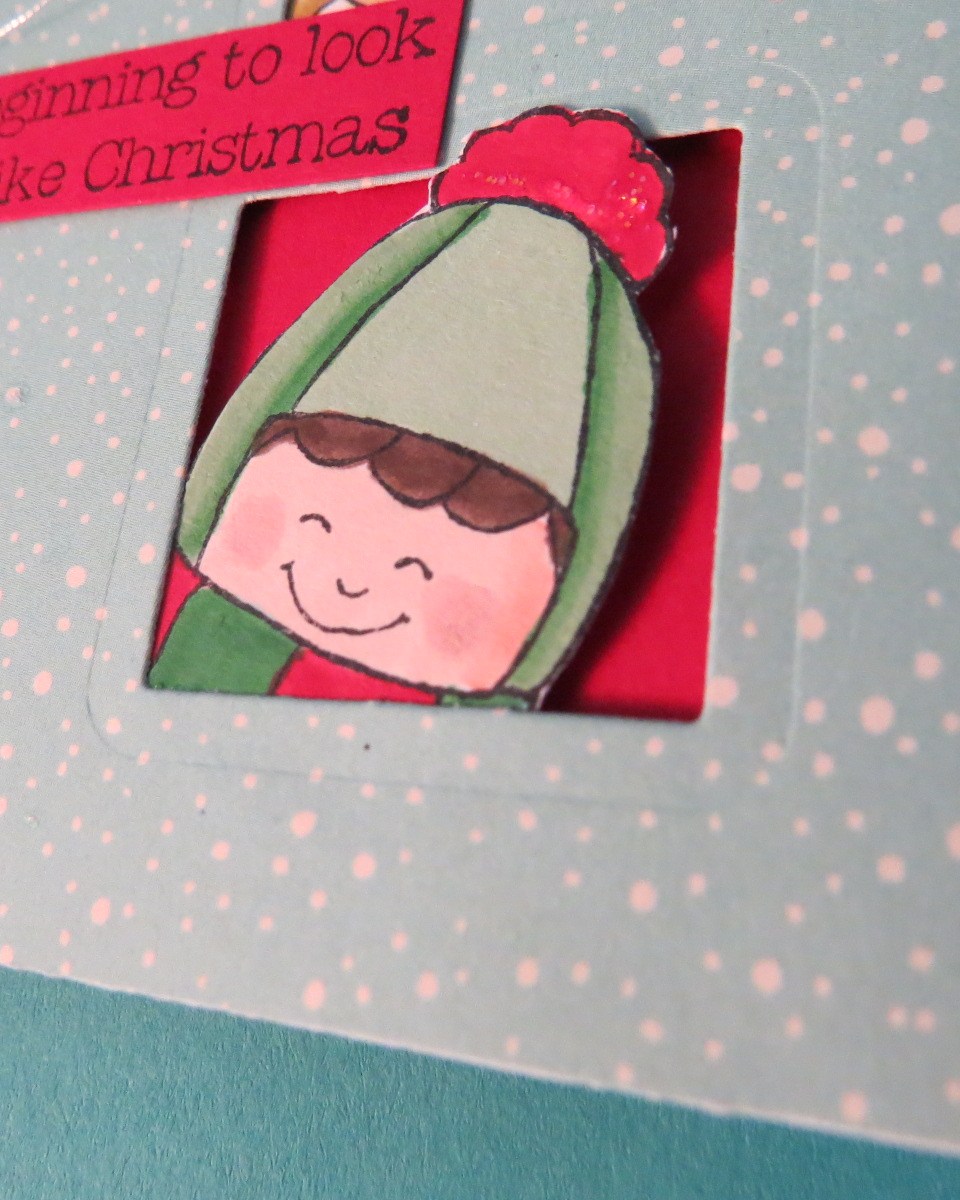
I cut out the squares using the smallest Square Framelit.  I started by cutting out the middle square and then just eyeballed the placement for the other two.  Then I stamped out the little kids on Whisper White card stock and colored in with various markers.  I fussy cut them out and glued them to the back of the DSP.  I added dimensionals to the DSP and adhered it to the Real Red.  As you can see some of it is showing through the windows.
 
Once I was satisfied with the placement I added a simple greeting from the same set and an Enamel dot.  I also added some sequins to the top of the card using the fine tip glue pen.  There is some Dazzling Details scattered over the card but the camera is not picking that up.
 
Here is a close up of the kiddies. -
 
 
I used So Saffron and added a accent with Delightful Dijon, the elf is Crumb Cake, Soft Suede and Real Red and Cucumber Crush markers.  I used Blush Blossom for the faces and added Blushing Bride for the cheeks.

 
This little guy has the same colors as the others but for the lighter green I used Pear Pizazz! 
 
Off to the Kitchen to start supper.  It seems like all I do is cook and clean.  Oh and I want to leave you with a joke today!  It's Monday and we need a little laugh right?
 
 
Knock, knock?
 
 
Who's there?
 
 
Megan and chicken
 
 
Megan and chicken who?


He's megan a list and chicken it twice, he's gonna find out who's naughty and nice...
 
I know what am I thinkin? 
 
Chat with you soon!  Cutie Pie hugs!