Today's card is the Halloween card with the Lollie! Here we go - I'll try to be clear and concise but no promises - my sister and all my friends will tell you I like to hear myself talk :O)

WOW Blogger took a LOOOONG time to load this tutorial! Anyway here is the card!

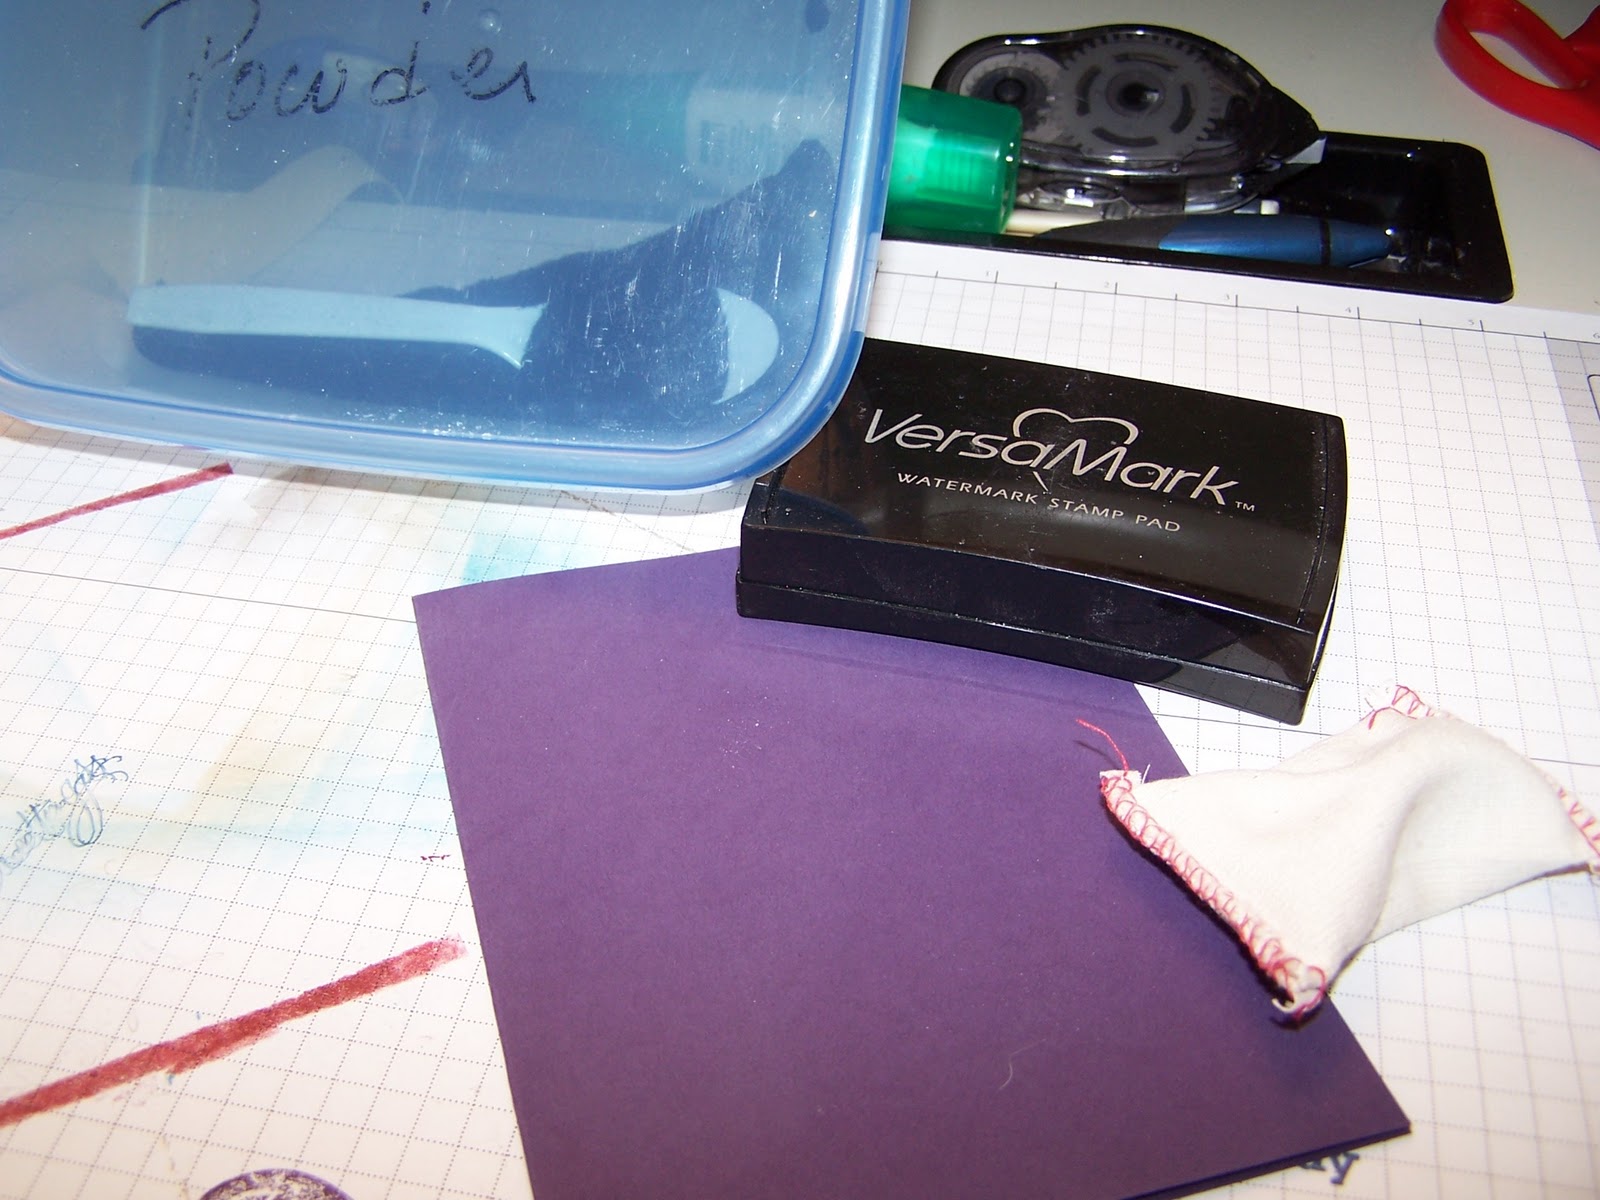
I used Elegant Eggplant c/s, Pear Pizzazz c/s, Night and day DSP( Retired) and Pear Pizzazz DSP, Batty For You stamp set, Versamark ink, Embossing Buddy, Heat tool, Black Embossing Powder and Baker's Twine.
Rubbed the card stock with the embossing buddy and then I took the Vintage Wallpaper folder for the big shot and lightly rubbed the versamark ink over the raised image on the folder. I placed the Elegant Eggplant c/s on the folder and ran it through the Big Shot.

After I had run the folder and c/s through the Big Shot I poured the Black embossing powder over the Debossed image. I used a small paint brush to remove the embossing powder from the areas that I wanted to show the eggplant c/s. I then heat embossed the image to get a shiny look. Really dramatic!

I took the Pear Pizzazz c/s and the DSP and glued them together with Tombow Glue ( I only use Snail for Ribbon)

I added some snail tape to the back of the c/s and took a piece of Baker's Twine and crossed it over to adhere on the opposite side of the c/s

I did the same thing with the other piece of Baker's Twine. Here you can see how I spaced the Snail tape to allow for the width on the X that I wanted.

I punched out a circle of Elegant Eggplant using the 1 3/8" circle punch and put Sticky Strip on it. Then I punched a Scallop Circle in the same c/s and added Sticky Strip to that also.

I took the Pear Pizzazz DSP and scored it at 1/4" all the way along and then I punched out the edges.

After I had the folds done. Like an accordion! I glued the pieces together.

Then I glued the other ends together and made a circle. So gather the circle and then push it down and attach it the Sticky Strip

Here is the pic of the lollie stuck to the circle

Then I added the scallop circle to the other side. I also punched out a pear pizzazz circle using the 1 1/4" circle punch and attached that to the scallop using tombow glue.

I used markers to color the first image (I don't know why it is so dark) Elegant Eggplant marker and the Basic Black marker for the spider. Then I used Basic Black ink to stamp the other two spiders on whisper white c/s

I added Dimensionals to the back of the lollie and attached it to the card. I cut out the two spiders and attached them using dimensionals also. (I cut my dimensionals in half before I use them they go much farther)
So everyone again way too many pic's but hope you now have an understanding of how to emboss using the folders and also how to make a lollie. Sticky strip is the answer trust me! Sticky Hugs! Have a great weekend!
No comments:
Post a Comment