Showing posts with label Photo Tutorial. Show all posts

Friday, October 31, 2014

A Cool Tip!

Hi there Stampers.

Got a Cool Tip for you today!  Saw a lady on the web doing this and thought hey that's a very cool idea.

Can't remember where I saw it but I wasn't the first person to come up with it lol.

Part of my swap card requires the stamping of a background stamp called "Hardwood".  I love this stamp but because it is the size of a patio deck it can be hard to get a good quality. But this solves the problem so well, I'm over the moon!  (it doesn't take much to tickle me)

Have a look -

 
This is the way I usually do it lol. Ink the stamp upside down, lay the card stock on the stamp and then place a piece of paper over the top.  But not today!


I emptied out a stamp case and placed the stamp and block in the case!
 
I then inked up my stamp with Lost Lagoon.


I placed the card stock on top of the stamp as usual.  Then I closed the lid on the stamp case.

 
Once the lid was closed I pressed the card stock onto the stamp!  No inky fingers, no movement of the card stock and Voila!  Done!   So cool and easy.
 
I will be doing this in all my stamping and classes.  Love it!
 
That's my share for today!  Hope you enjoy this tip!
 
Happy Halloween!  Hugs!

Friday, September 19, 2014

A Money Saving Tip!

Good Day Stampers!

How is everyone today?  Looking forward to the weekend??  I am because I have a class planned for Sunday afternoon and I am excited about my projects!  But then I am always excited by the classes, it's so much fun to get together with friends and laugh and stamp!

Today I was doing something that I have been doing for years when a light bulb went off in my head and I thought - wow - this would make a great tip to share with all of you!

So here is my money saving tip!

 
How many of you use the Tombow Multi purpose glue?  Well if you're like my customers, all of you!  And how many of you don't throw away the left over bottles when you think they are empty?  I provide glue at all my classes and when they get hard to use I put them in a bucket and leave them alone.  When I get several then I go to work!  (I'm not cheap - I'm Frugal! )
 
 
It's my blog and I get to pick the adjectives lol.

 
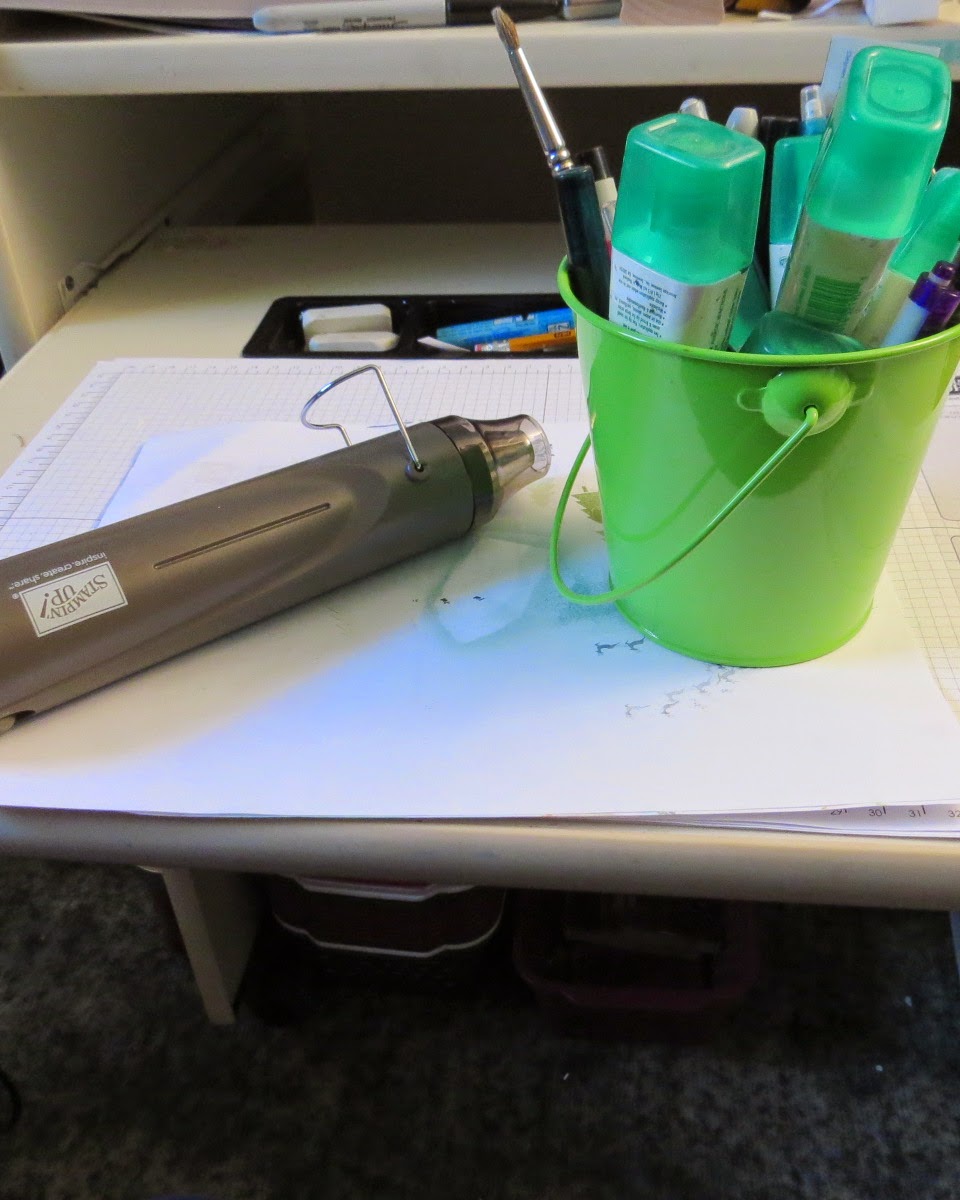
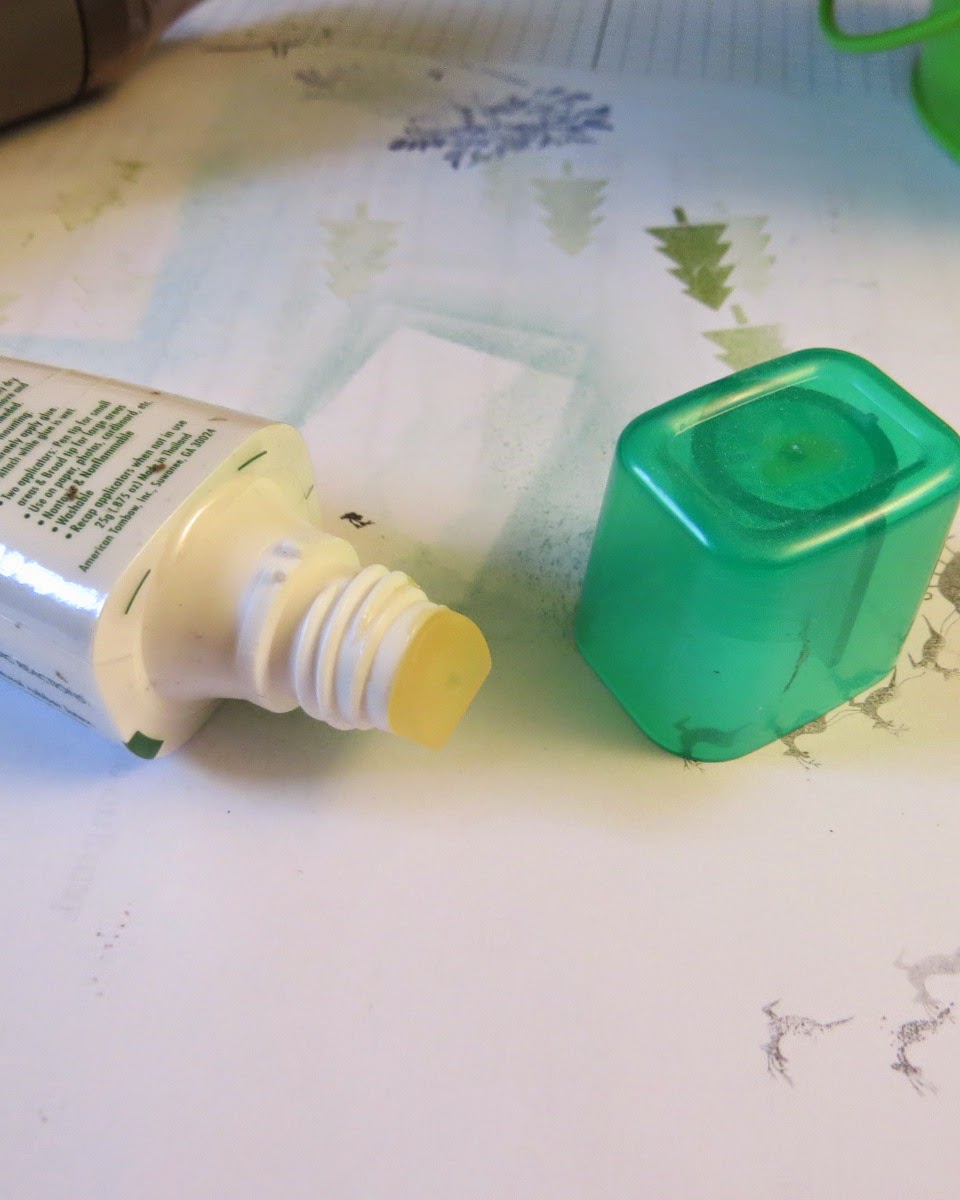
First thing I do is take out one bottle and take the cover off the large tip.  Oh and I work on paper so I can throw it away after.  This can be messy!

 
Then I remove the rubber plug from the end and set it aside!


I then take the bottle and prop it up so it won't fall over.  I use my bucket but a small glass works well also.

 
Now for the important part - I use my heat tool to heat up another bottle of glue.  I move quickly and rotate the bottle several times.  When the plastic feels warm to the touch I bang the end on the desk to allow the glue to go to the small tip.  Because this bottle is plastic DO NOT, DO NOT leave the heat tool in one spot for too long.  Could turn nasty!

 
Now that you have the glue heated up and runny it's time to fill the selected bottle.  Continue heating and tapping or shaking vigorously until you don't get any more glue coming out of the bottle.  Am I making sense?  If you don't understand then leave a comment and I will explain further.

 
So that's how I make my supplies go farther.  I have been doing this for seven years and find it a great way to save money.
 
 
I also have a share for you today!  I will have several to share over the next week after my class is done.  But for today here is my card.


I am going to be working with Blendabilities in my class on Sunday and was practising with them.  I did this last week but this is not the card we will be doing.  This is a card I am sending my mom.  I have some pictures of Emily that I want to send her and well, can't send it empty lol.

 
Here is the side view.  I used the coastal cabana Blendabilities and my new fav card stock - Lost Lagoon.  Oh and btw I have gotten much better at blending.  This was just my first attempt.  Stay tuned next week for the class card it's gojus!
 
Long post today but hope you enjoyed the tutorial! 
 
See you Monday!
 
Frugal hugs!
 

Thursday, March 7, 2013

How to make a Plaid Background!

Good day Stampers!

The lovely Miss Emily is down for a nap so I have about an hour in the craft room.   I promised you a photo tutorial of a Plaid Background similar to the one on my Everybunny Easter Card and here you go!

Just a quick review of the card with the background!

This Plaid Background will work with any color or you could use two colors for multi-colored Plaid.


Here we have four items to work with, a  Brayer, Marina Mist ink, Stripes embossing folder and a piece of Whisper White card stock sized at 5" x 3 3/4"


Using the brayer and Marina Mist ink, roll the brayer over the embossing folder on the side with the Stampin' Up! logo.  Make sure you put lots of ink on the folder.


 Place your card stock on the opposite side of the embossing folder and make sure it is straight by following the lines.


Run the card stock through the Big Shot once.


This is what you will have when you open up the folder. 


Re-ink the folder, same side as the SU logo, and this time turn the card stock 45 degrees and once again place it on the opposite side of the folder.  Close up the folder and you will see this.

Run through the Big Shot and when you open up the folder you have a plaid background.   You may have noticed that the folder does not go the whole way down but not to worry, just punch the bottom or cut it off. 


If you look at my card you will see I cut some of the card stock off the bottom and then I punched it out to give it a decorative edge. 

To clean the ink off the embossing folder, all you have to do is rinse under the tap and dry with an old towel or some paper towel.

I hope these instructions make sense lol.  I've been known not to explain myself in a clear manner.  (well according to my hubby)! 

So most of my hour is up and I can hear stirring in the bedroom so bye for now!

Plaid and slightly crazy hugs!


Wednesday, June 13, 2012

Emboss Painting Elegant Card

Hi there everyone,

It's the Blog Hogger coming to you with a picture tutorial of a technique Kathy taught me, called Emboss Painting.  It looks impressive but, using Kathy's tips, it isn't hard to do!  (Seriously, folks, isn't that what appeals to all of us card addicts? lol)

Although I've seen this technique elsewhere, it always ends up with mixing up some of your embossing powder, and that results in throwing it away.  Kathy's technique keeps each color of emboss powder in it's own container so there's no wastage!  She's a genius!  lol

First, here's the card:


The Emboss Painting technique will show you how to make the tree that's black, silver and gold!

Supplies needed to make this card:
  • Basic Black and Very Vanilla card stock (cs)
  • Black, Silver & Gold Emboss Powders
  • One straw (Yes, I said "straw"!  lol)
  • 1/4" Very Vanilla ribbon
  • 1 3/8" x 5/8" Oval punch (which is the smaller of the two punches & is no longer available)
  • Large Oval punch
First, cut the Basic Black cs 5 1/2" x 8 1/2" and score at 4 1/4".  Cut a piece of Very Vanilla cs 5 1/4" x 4".  Cut another piece of Basic Black cs at 3/4" x 5 1/4".  Cut a piece of ribbon approximately 7 1/2" long.

Referring to the picture below, rub your Emboss Buddy across the piece of Very Vanilla cs and, using Versamark Ink to ink up your stamp, stamp the long stamp from the Lovely as a Tree stamp set.  Do this twice, so that the image of the trees come off the ends of the card stock.  Emboss with Gold Emboss Powder.

Attach the ribbon to the narrow strip of cs, using Snail Adhesive to adhere the tape to the back of the cs.


Go ahead and assemble these pieces, using the picture of the completed card for placement.

Now comes the fun part!  Cut your straw in half, using a diagonal cut, so that each piece has a pointy end.  Look at the picture below to see what I mean.


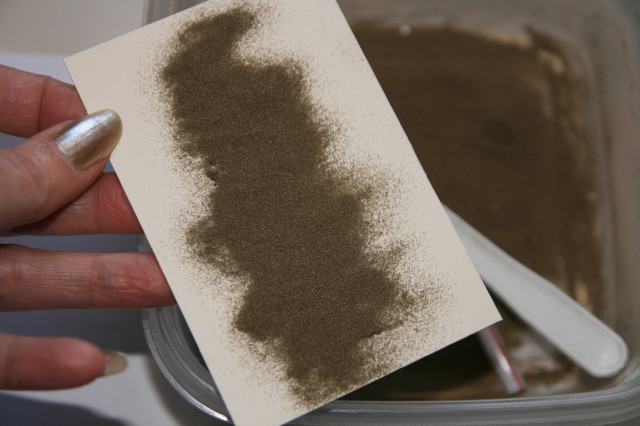
Next, run the Emboss Buddy over a piece of approximately 2 3/8" x 4" Very Vanilla cs.  (I approximated the width of the cs because I rarely stamp an image . . . especially using a wood stamp . . . completely in the middle without using a Stamp-A-Ma-Jig.)  Stamp the tall tree from the Lovely as a Tree stamp set, using Versamark Ink.  Using the pointy end of one the straws to pick up some of the Black Emboss Powder, lightly tap some of the emboss powder onto random spots of the image.  (Good news!  Precision isn't needed here!  The completed image will look slightly different each time.)


Then flip the cs over the container you keep your emboss powder in (you'll see what I use in the next two pictures), or whatever you use to catch your emboss powder, and tap the back of the cs to knock off any loose powder.   (The trick here is to "flip", as apposed to sliding the powder off.)

Next, repeat with the Silver Emboss Powder.  Again, flip the cs over your container and tap the back.


Now you can use a spoon to cover the rest of the image with Gold Emboss Powder, sliding the excess off into your container and tapping on the back to remove any excess.


This is what your image should look like.  (Remember, each image will look slightly different.)


Now, use your Heat Tool to set the image and make the beautiful metallic colors shine!  Then you can cut the extra cs off, so that your image will be centered on the cs.  (My piece of cs ended up measuring 2 1/8" x 4".)


Add a Basic Black layer behind the image.  (Mine is 2 3/8" x 4 1/4".)


Attach the image to your card base using Dimensionals.  Stamp the greeting with Stazon ink (I used the Teeny Tiny Wishes stamp set), punch out and layer with a larger piece of Basic Black cs.  Pop the greeting up with Dimensionals . . . and you are finished!

Hope you enjoyed this photo tutorial!

Photographic hugs,
Colleen

Thursday, June 7, 2012

Pin Wheel Tutorial!

Good Day Crafty ones!

This is going to be a hit and run post today.  I am falling behind in my committments and need to put more time there.  You understand I hope. 


Since I posted the pictures of the pin wheels I have had a lot a questions on how I did them.  Well they are really quite simple but most of us are visual learners so I put together a photo tutorial  just for you.!!


Start with a square of DSP or card stock.  Any size works but it has to be a square.  This one is 2" x 2".

Score from corner to corner.  If you enlarge the picture you will see the score lines.


Now take your scissors and cut on the sccore lines almost to the middle.  I usually leave about 3/4 " in the center.  I just eyeball the cuts.  It doesn't seem to make a difference if they are slightly different.


Now place your square on something soft.  I am using the foam that comes in the case for the clear blocks.  Start by folding one corner towards the middle and hold that down with your finger.

Make a quarter turn and fold that corner down to the middle.    Continue until all four corners are folded towards the middle. 


This is what it should look like when you have all four corners wrangled to the middle. lol.

Take your paper piercer and poke a hole in the middle through all four pieces of paper.

Place a brad in the center and open it up on the back to hold it in place.

I used a 3/4" circle punch for the back.  I punched out a circle using the same DSP.

I then added some sticky strip and peeled off the other side and placed my toothpick on the back

Once the toothpick was secure I then placed the circle with the toothpick on the back of the pin wheel covering the back of the brad. 


And there you have it, your cupcake topper or if you make it bigger then a wall decoration.  Love it.

I hope this makes the directions a little clearer for you.!!

Gotta run!  Pinned to the craft room hugs!

Tuesday, May 22, 2012

Blending Old and New!

Good day Inky ones!


How was your weekend?  Mine was glorious!  I spent the weekend cleaning and getting the trailer ready for camping.  I know that does not sound like fun but when you think of what we had only a short while ago (snow) this is soooo much better.

But I am back at my crafts and while going through my stamp sets I came across The Nicest Things, that I had borrowed from a friend, with an eye to doing some paper piecing.  It's one of those things that you never get time for. 

I will be returning this set when I see her  and since it will be retiring shortly (the end of May) I thought what better time to do a photo tutorial.

Ohh Ohh Ohh I also got my new rubber today along with the new style stamp pads.  I must say they work really well.  I am hoping to show you just how well tomorrow (smirk). 

So here we go - The Nicest Things blended, old and new -


First I stamped the main image in Stazon on Whisper White card stock.


Then I cut out the focal image using the Framelits labels die.  I think it was number 3 die.  I didn't remove the label at first because I wanted to try sponging on a little color.  I sponged very lightly and used Marina Mist around the top of the image.  This should give me a little white border.


I did the same on the bottom of the image with Pear Pizazz.  Then I removed the framelit.


Next I stamped the same image in Black Stazon on two different colors of DSP. 


I then cut out the different parts of the image from the DSP.  I pieced them onto the stamped image.


Once I had all the pieces glued on to the main image I started to color in the other parts.  See the cute white border?  It worked!  Yay!


as you can see I used several markers to color in the image.  I also used blender pen to add highlights to the hair and basket.


Now I mentioned that I got some new product right?  Well Betsy's Blooms wheel was one of the new items from the catalog.  I used Daffodil Delight ink to run the wheel over the bottom of the card stock.


I decided to tie in the color a little more with some DSP cut with the Pinking hearts punch. (soon to be retired)  Glued that just over the top of the wheeled image.  I also needed to cover the join between the wheel and the DSP so I used my new stitched gros grain ribbon.  No pic but you will see it at the end.

Now for the sentiment.  I stamped it in Black and punched it out with the Decorative Label punch and backed it with more DSP.  It looked a little plain so I added a couple of flowers punched out with Itty Bitty Punches and a few strategically placed jewels.


This is what it looks like all put together.  I popped up the image with dimensionals and added the sentiment.


Here is a close up of the paper piecing.


And here is a close up of the sentiment!

And here is the updated pic.  I decided to add some pink DSP to the frill on the dress.  It looked unfinished after I had sized up this post. :O)  I'm such a control freak!


See it's better right? 


Well that's it for today.  It is way too nice to stay indoors today.  I just want to be in the sunshine.... (I think that why I  may have used Daffodil Delight today :O) 


Sunshine  is the "Nicest Thing"  hugs!